

Affiliate disclosure: Some links on this page are affiliate links. If you buy through them, Psymedia may earn a small commission at no extra cost to you. As an Amazon Associate, we earn from qualifying purchases.
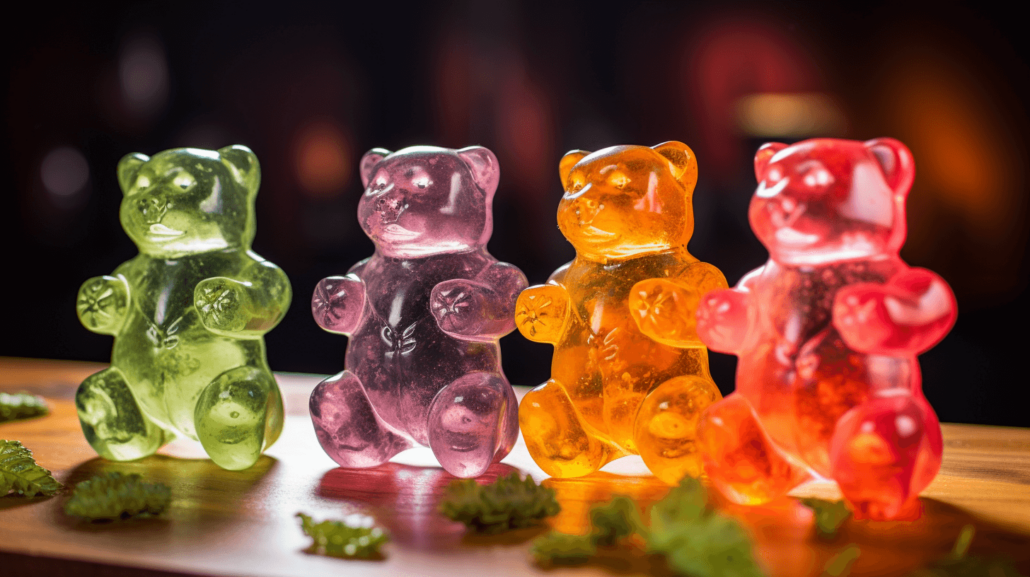
Weed gummies are edible cannabis products shaped like gummy bears, worms, and other shapes. They are made with cannabis-infused oil or butter and typically come in a variety of potencies and flavors. Weed gummies offer a convenient and discreet way to consume marijuana.
Hey there, gummy enthusiasts! If you’re reading this, chances are you’ve already discovered the magical world of weed gummies and its myriad benefits. Perhaps you’re tired of spending a fortune on store-bought gummies and are ready to dive into the DIY route. You’re in luck!
Making weed gummies isn’t just economical; it also allows you to customize flavors, potency, and ingredients. So, grab your apron and let’s get started!
What You’ll Need: Essential Tools and Ingredients
Utensils and Appliances
- Silicone Gummy Molds
- Measuring Cups
- Saucepan
- Whisk
- Dropper or Pipette
Ingredients
- Gelatin or Agar-Agar for a vegan alternative
- Fruit Juice (freshly squeezed or store-bought)
- Sugar or Sweetener
- Cannabis-infused Coconut Oil
Recommended Products
- Silicone Gummy Molds: Go for something like the GummyBearMold by The Modern Gummy which offers precise cavities for consistent gummies.
- Agar-Agar: If you’re vegan, Telephone Brand Agar-Agar is a great alternative to gelatin.
The Basic Steps: Making Your Gummies
Preparing the Mixture
- Combine 1 cup of fruit juice, 2 tablespoons of sugar, and 2 tablespoons of gelatin or agar-agar in a saucepan.
- Gently heat the mixture over low heat, stirring until all the ingredients dissolve completely.
Adding the coconut oil
- Remove the saucepan from heat and let it cool for a couple of minutes.
- Add your desired amount of coconut oil and whisk it in until well incorporated.
Filling the Molds
- Use a dropper or a pipette to fill your silicone molds with the mixture.
- Place the molds in the fridge for 30 minutes to 1 hour.
The Unveiling
- Once the gummies are set, gently pop them out of the molds.
Storing Your Gummies
- Store in an airtight container in the fridge for up to two weeks.
Customize Your CBD Gummies
Flavor Frenzy: Mix It Up!
You don’t have to stick to just one type of fruit juice. How about a pineapple-mango combo or maybe even a pomegranate-blueberry fusion? The world’s your oyster (or should we say gummy?).
Strength and Potency: How Much CBD to Use
For beginners, start with about 5 mg of THC per gummy. You can easily scale this up based on your individual needs and the potency of your coconut oil.
Go Herbal: Add Some Extras
Want a dash of wellness? Add some finely chopped ginger or a splash of chamomile tea to your mixture for an extra kick.
Troubleshooting: Tips and Tricks
The Sticky Situation
If your gummies are sticking together, toss them in a bit of cornstarch.
The Taste Test
For better flavor, consider adding a drop or two of food-grade essential oils like lemon or orange.
The Vegan Route
Remember, if you’re using agar-agar, you’ll need to boil the mixture for it to set properly.
Closing Thoughts: The Joy of Customization
And there you have it! Your very own, custom-made weed gummies. Once you’ve mastered the basics, the possibilities are endless. Add some spirulina powder for a health boost or a dash of chili powder for some heat—get creative!
The joy of making your own weed gummies is not just about saving money; it’s about crafting something that’s uniquely yours. What are you waiting for? Happy gummy-making!
[rank_math_rich_snippet id=”s-82a14aac-70a8-4f39-8cf9-dd327f69415b”]